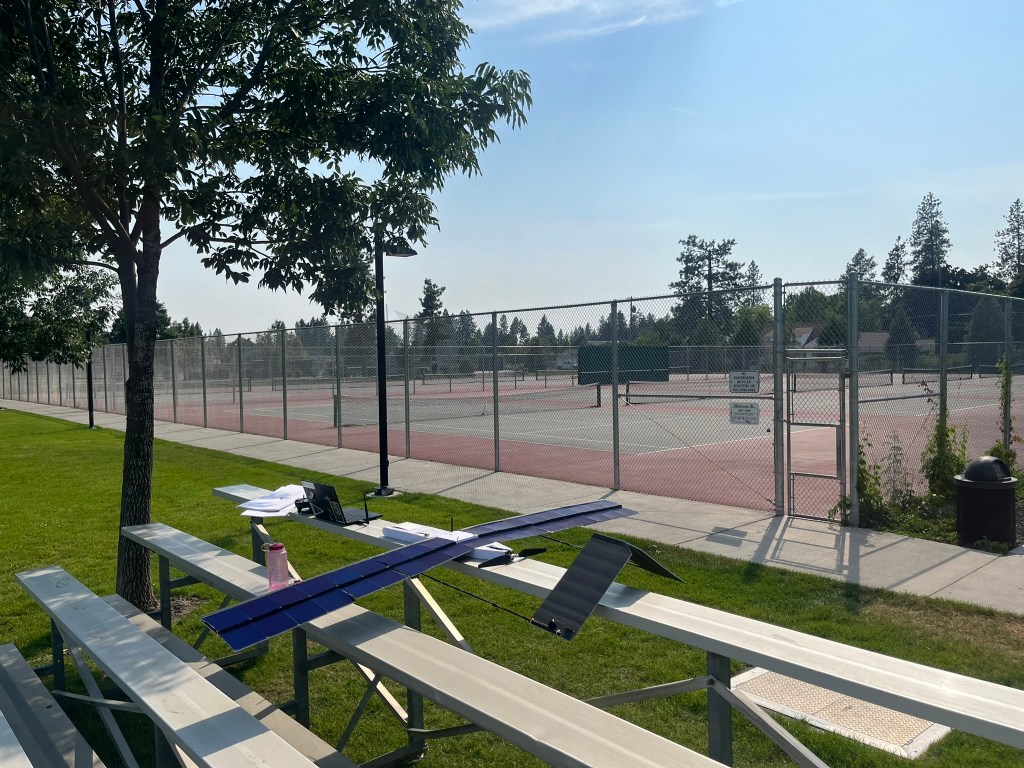
Originally the plan was to build a new airframe (MK3) for the first solar test flights. This would give a “fresh” airframe (foam board planes fly marginally better when new with no small wrinkles in the paper) and I could use what I learned from building MK2 to build a better and lighter MK3. However after considering the minimal changes that would be made from MK2, it was decided to install solar directly onto MK2 to save time.

In order to fit solar cells on MK2 several modifications had to take place. Besides small changes to run wires, the tail and airspeed sensor needed to be moved from the top of the wing to the bottom. I also moved the ESC to the inside of the fuselage to move its weight further forward as it did not need to be cooled by airflow. A new longer nose was also put on the plane to allow the battery to be placed further forward to counteract the weight of the solar cells which are mostly behind the required CG.


Soldering and installing sunpower C60 cells turned out to be much more difficult than was expected. The cells are extremely fragile and very prone to cracking and smudging. Luckily, it is shown online that small cracks and blemishes do not decrease performance noticeably. They were initially soldered directly using the dogbones to solder them in series, but I eventually found an alternate way to solder them by taping them together with kapton tape, cutting the tape away from the pads, tinning them, and soldering on the dogbones using a “squiging” motion with the iron. This makes the soldering process much faster and eliminates any chance of shorting the contacts on the back of the cell. They were terminated with a dog bone and 16 gauge silicone wire soldered to all three contacts.


Running the power wires from the wing tips to the center section was difficult, as when the wires bent to fit into the wing it put a lot of pressure on the adjacent cells which cracked and lifted them off the wing.
To attach the solar cells to the wing, the best solution i came up with was just scotch double sided tape. It adhered fairly well, and the cells are removable with less force then it takes to crack them. This may need to be improved upon as some cells do loosen, but not enough to raise concern for them coming off during flight.
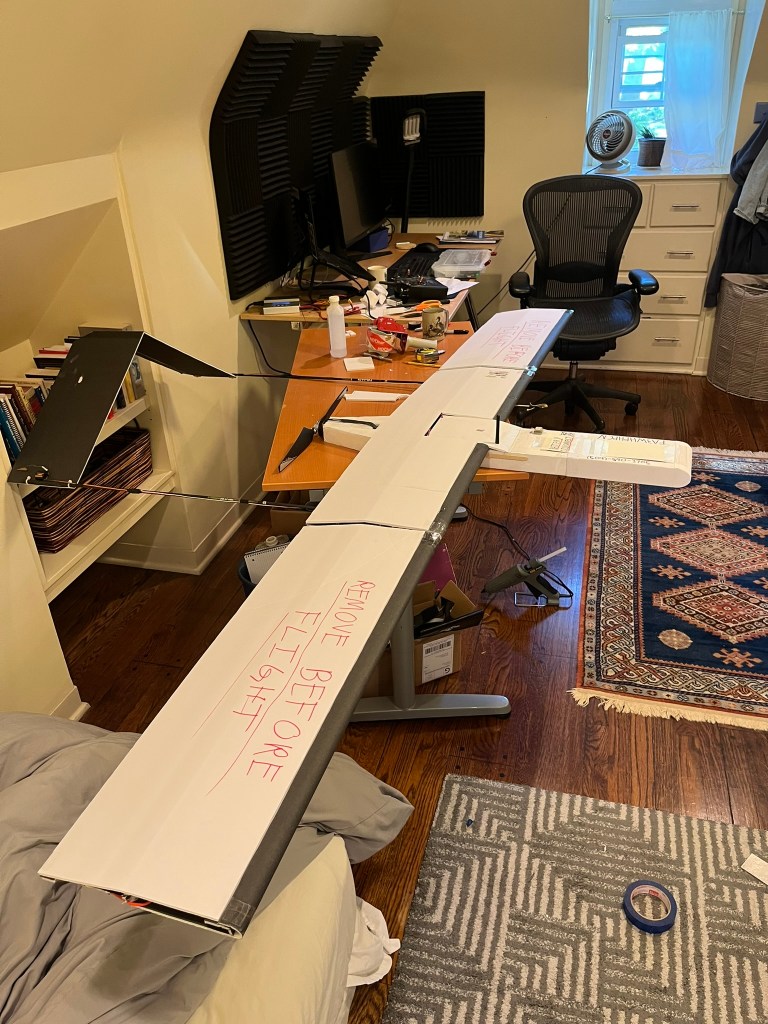
In order to protect the cells during storage and transport, a custom foam board covering was made that was attached to each section of wing that did not need to be removed until right before launching.